
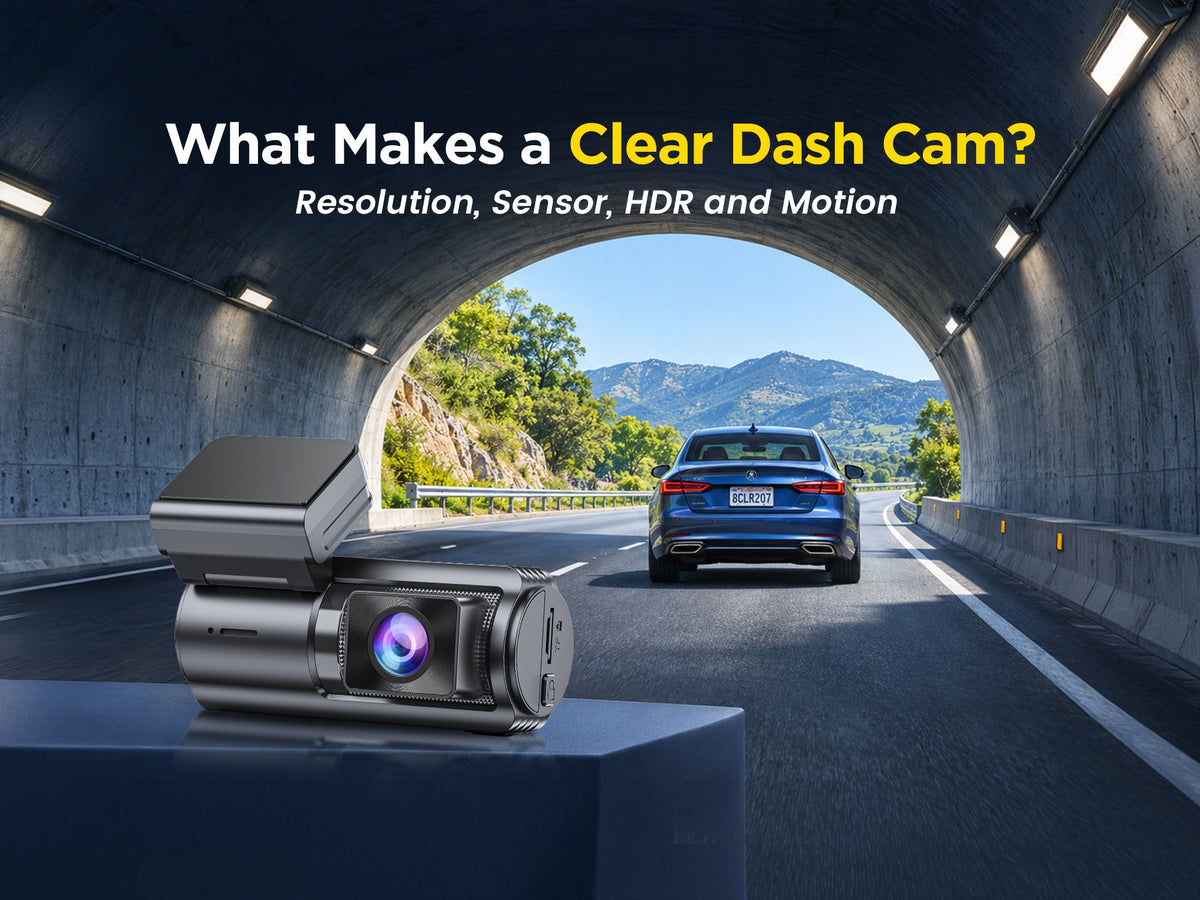
A clear dash cam is one that preserves the detail needed to understand an incident, not simply one with the largest resolution number. Useful footage must balance pixel count, bitrate, sensor performance, dynamic range, exposure time, lens quality, windshield condition, and stable mounting. If any part of that imaging chain is weak, a sharp-looking daytime preview can still fail when a plate moves quickly or headlights enter the frame.
This guide explains how those factors work together and how to judge original video rather than marketing labels. It also shows why a 4K dash cam may offer more potential detail without guaranteeing a readable plate in every scene, especially at night, in rain, or during high relative motion.
Define Clarity by the Evidence You Need
Clarity should be defined by the question the footage must answer. Wide scene context can show lane position, signal timing, direction of travel, and the sequence of events. Fine detail may help with a nearby plate, sign, vehicle feature, or road marking. One frame rarely maximizes both because a wider view spreads the available pixels across more of the road.
A dash cam for accidents should therefore record stable context first and fine detail when conditions allow. No consumer camera can guarantee plate capture. Distance, closing speed, angle, vibration, rain, dirt, glare, exposure, and motion blur can make a plate unreadable even when the rest of the scene looks clear. Audio, GPS, and synchronized front and rear clips may add context, but they do not repair missing image detail.
Set a practical test target before buying. Decide whether you mainly need urban intersection context, highway traffic behavior, parked-vehicle activity, or front and rear detail. A good dash cam for your car should perform reliably on the roads, in the lighting conditions, and with the windshield and mounting position typical of your driving.
Resolution and Bitrate: Detail Versus Compression
Resolution describes the pixel dimensions of each frame. UHD 4K commonly means 3840 by 2160 pixels, giving the camera more samples with which to describe a scene than 1080p. That extra pixel count can support closer inspection, but only if the sensor, lens, processing, focus, exposure, and recording data rate preserve meaningful detail.
Bitrate is the amount of video data recorded over time. If the bitrate is too low for a complex 4K scene, compression can smooth texture, break moving edges into blocks, or discard small details. Leaves, rain, road texture, and fast traffic are difficult because much of the frame changes at once. A higher bitrate can retain more information, but it also creates larger files and reduces the recording time available on a given card.
Do not compare a downloaded original with a social-media upload or a phone preview. Streaming platforms and apps may resize or recompress footage. Check the original file's resolution, duration, file size, frame rate, and codec, then view the same short segment at 100 percent scale on the same display. A high-quality dash cam should deliver consistent detail across multiple clips, not just one unusually favorable frame.

Sensor Size and Low-Light Sensitivity
The image sensor converts incoming light into electrical signals. Sensor area, pixel design, readout, noise control, and image processing all influence low-light performance. A larger or more light-sensitive design can collect a stronger signal, but sensor size alone does not predict the finished video because resolution, lens aperture, exposure, processing, and heat also matter.
Sony Semiconductor Solutions develops the STARVIS 2 image-sensor technology used in selected GKU dash cams. GKU integrates this sensor technology with its own lenses, image processing, recording settings, and camera design. For example, the GKU E200 combines Sony STARVIS 2 imaging with HDR, while the D600 Pro Max combines Sony STARVIS 2 with WDR. Sony also offers STARVIS 2 sensors equipped with Clear HDR, but Clear HDR should not be assumed to be included in every STARVIS 2 dash cam. Final footage quality still depends on the specific GKU model, lens, image processing, bitrate, installation, and driving conditions.
A night vision dash cam usually relies on visible-light sensitivity, exposure control, noise reduction, and HDR or WDR rather than illuminating a distant road with infrared light. A dash cam with night vision may brighten shadows, but excessive gain can add grain and smear fine texture. The best test is an original moving clip on a dark route, not a bright stationary sample in a parking lot.

HDR Against Headlights, Shadows and Tunnels
High dynamic range, or HDR, is intended to preserve information in bright and dark regions of the same scene. That matters when headlights face the camera, a vehicle exits a tunnel, or sunlit pavement sits beside deep shade. Without enough dynamic range, a plate may become a white patch while the surrounding vehicle falls into black shadow.
HDR is not a universal sharpness switch. The camera must combine or process exposure information without creating ghosting, color artifacts, halos, or unstable brightness around moving objects. Results vary by sensor, HDR method, firmware, frame rate, and scene. A 4K HDR dash cam should be tested with oncoming headlights, reflective plates, tunnel transitions, and backlighting at the settings you will actually use.
Compare HDR on and off only when the camera permits a controlled test. Keep the route, speed, time, lens position, and viewing method as similar as possible. Look at highlight detail, shadow detail, motion edges, and exposure recovery after the lighting changes. The setting that looks brighter is not automatically the one that preserves more evidence.

Shutter Speed, Motion Blur and Plate Readability
Shutter speed controls how long each frame gathers light. A shorter exposure can freeze motion more effectively, while a longer exposure gathers more light but lets a moving plate travel farther across the sensor during the frame. At night, the camera may lengthen exposure to avoid a dark image, which increases the chance of blur.
Frame rate and shutter speed are related but not interchangeable. More frames per second provide more moments to inspect, yet each frame can still blur if its exposure is long. A faster frame rate may also leave less time for light collection. The camera's automatic exposure system must balance brightness, noise, and motion under changing road conditions.
Relative motion matters most. An oncoming vehicle, a car crossing the frame, or a close pass produces more image movement than a vehicle traveling at a similar speed ahead. Plate angle, distance, reflective material, and headlight glare add further limits. The clearest dash cam is the one that gives several usable frames in your normal conditions, not one that promises universal plate readability.
Lens, Windshield and Mounting Factors That Reduce Clarity
The lens and mount should maintain stable focus across temperature changes while directing light onto the sensor with limited flare and distortion. A dirty lens, protective film left in place, internal condensation, or a focus defect can defeat high resolution. Very wide fields of view include more road but make distant objects occupy fewer pixels.
The windshield adds another optical surface. Fingerprints, haze, water spots, tint, chips, reflections, and dashboard glare can reduce contrast. Mount the camera within the wiper-cleared area and as close to the glass as the approved mount allows. Do not block the driver's view or interfere with factory sensors. A polarizing filter may reduce some reflections, but it can also reduce incoming light and must be rotated and tested correctly.
A loose mount creates vibration and changes aim over bumps. An angle that shows too much sky can cause the exposure system to darken the road, while too much hood can waste pixels and amplify reflections. Recheck framing after installation, after major temperature changes, and whenever the mount has been disturbed.
Find a Clearer GKU Dash Cam
Choose a model by matching the whole imaging chain to the evidence you want. Compare both channel resolutions, sensor, HDR or WDR support, field of view, storage capacity, original sample footage, and nighttime footage of moving vehicles. Then confirm which features operate together, because resolution, frame rate, HDR, and multichannel recording may have model-specific combinations.
For drivers who prioritize detail in both directions, the GKU E200 Dual 4K dash cam records 4K at the front and rear and lists Sony STARVIS 2 imaging, HDR, a 170-degree front field of view, a 150-degree rear field of view, and microSD support up to 512GB. It is the stronger GKU fit when dual-direction resolution and HDR are central to the comparison.
The GKU D600 Pro Max records 4K at the front and 1080p at the rear. Its current specification lists Sony STARVIS 2, WDR night imaging, the same 170-degree front and 150-degree rear fields of view, built-in GPS, and microSD support up to 512GB. It suits drivers who prioritize a detailed front view with a rear evidence channel and additional everyday controls.
Product choice is only the starting point. Keep both lenses and windows clean, use a compatible high-endurance card, verify current firmware and recommended settings, and review original clips from the installed position. Package contents and availability can change, so confirm the selected option before checkout.
Improve the Clarity of Every Important Detail
Use a repeatable clarity check instead of relying on a showroom preview. Record the same short route in daylight and darkness, include an intersection, oncoming headlights, shade, and moving traffic, then copy the original files without editing them. Compare identical moments on the same display and note the settings used.
- Clean the lens and both sides of the windshield in front of it.
- Confirm that the horizon is level and the frame is not dominated by sky or hood.
- Check original front and rear files for focus, compression artifacts, glare, noise, and vibration.
- Pause several consecutive frames rather than judging one lucky image.
- Verify the date, time, storage behavior, emergency lock, and file playback before a real incident.
Start with the evidence you need, test the installed camera under real motion, and keep the original files when an incident occurs. Review GKU's front-and-rear dash cam collection to compare current recording configurations, then choose the dash cam system whose complete imaging chain fits your routes rather than selecting resolution alone.
Frequently Asked Questions
Q1: Why Can Windshield Glare Make High-Resolution Footage Look Unclear?
Glare can originate inside the cabin as well as outside it. At night, dim bright displays and remove pale or glossy objects from the dashboard, then record a short stationary comparison. If a compatible polarizing filter is used, rotate it while viewing reflections and retest after dark because the filter also reduces the light reaching the sensor.
Q2: Which Sensor Qualities Improve Detail in Low Light?
Look for controlled noise without the loss of fine texture. In a useful low-light clip, road edges, vehicle contours, and signs should remain stable across consecutive frames instead of dissolving into grain or waxy smearing. Compare moving footage, not only a paused image, because aggressive temporal noise reduction can hide detail as objects move.
Q3: How Does Bitrate Influence Moving License Plates?
You can estimate average bitrate when the camera does not display it: multiply the file size in bytes by eight, divide by the clip duration in seconds, and convert the result to megabits per second. Compare files with the same resolution, frame rate, codec, and scene complexity. An average value will not reveal every short variable-bitrate drop.
Q4: Can an Incorrect Mounting Angle Reduce Apparent Sharpness?
Yes, especially when important objects fall near a softer edge of the lens. During a safe stationary test, place printed detail or road-sign-sized targets near the center and both edges of the frame. Review the original file at 100 percent scale, then adjust the mount to keep the most important road area within the sharper region.
Q5: What Is the Best Way to Compare Original Video Files?
Create a controlled comparison set rather than opening files at random. Copy the native clips, keep their metadata, rename copies without altering the originals, and use the same player with sharpening or enhancement disabled. Match the route, time, speed, and viewing scale, then inspect identical timestamps and consecutive frames. Preserve an untouched copy when footage may be evidence, following the acquisition and preservation principles in dashcam forensic investigation guidance.


Comments (0)